
Hey there, fellow parents!
If you drop by my house right now, you’ll immediately know what time of year it is. The front porch is lined with pumpkins, my favorite oversized flannel is on heavy rotation, and yes—there is a 100% chance I am currently holding a steaming mug of dark roast coffee with a splash of cinnamon-maple creamer or pouring fresh warm apple cider into mugs for the kids.
Fall is, without a doubt, my absolute favorite season. There is just something so magical about the crisp, cool air, the crunch of leaves under our boots, and the way the world seems to slow down just a little bit after a busy summer. I live for the deep reds, burnt oranges, and golden yellows painting the trees outside my window while I sip my morning brew in peace. It’s pure comfort.
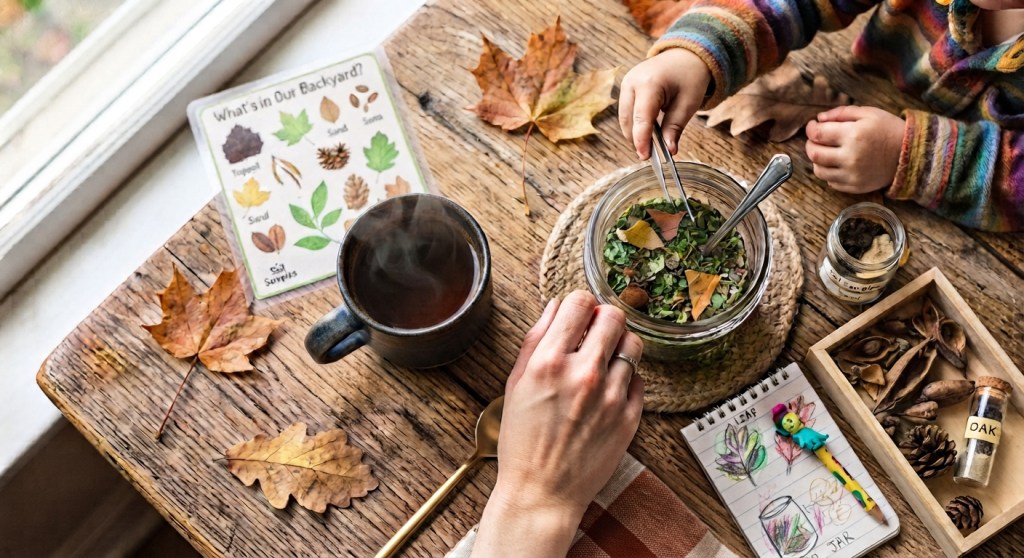
As a stay-at-home mom, I love finding ways to capture that magic and share it with my kids. But because I’m always looking for ways to sneak in a little learning, I love when we can turn our seasonal obsessions into something hands-on. Today, I’ve got a super fun science experiment that takes our favorite part of fall—those gorgeous changing leaves—and turns your kitchen into a colorful laboratory.
It’s called Autumn Leaf Chromatography, and your kids are going to be mind-blown!
The Science Behind the Magic
Have you ever wondered why leaves change color in the fall? I always tell my kids that trees have a secret superpower all summer long. They are packed with chlorophyll, a green pigment that helps them make food from sunlight. Because there is so much green chlorophyll, it completely hides all the other colors hanging out in the leaf.
When fall arrives and the weather cools down, the trees stop making chlorophyll, and the green finally fades away. That’s when those hidden pigments—like yellow (xanthophyll) and orange (carotene)—finally get their moment in the spotlight!
With this experiment, we use simple kitchen chemistry to separate those hidden colors right before our eyes.
- Ages: 5–12
- Time: 30 minutes active time (plus 1 hour for the science to work its magic)
What You’ll Need
You probably already have most of these supplies sitting around the house:
- Fresh leaves collected on a family nature walk (try to grab a mix of green, yellow, and red maple or oak leaves)
- Coffee filters cut into 1-inch wide strips
- Small glass jars or clear plastic cups
- Rubbing alcohol (isopropyl alcohol 70% or higher)
- Pencils or craft sticks
- Tape or paperclips
- A spoon or coin
Step-by-Step Guide for Parents
Step 1: Collect and Crush
Take the kids outside for a brisk morning walk to gather your leaves (bonus points if you take your travel mug of coffee with you while you stroll!). Once you’re back at the kitchen table, have your child tear 3 to 4 leaves of the exact same color into tiny pieces and drop them into the bottom of a glass jar.
Step 2: Extract the Pigment
Take the back of a spoon or a coin and thoroughly mash the leaf bits against the bottom of the jar. You want to break down those plant cells until the edges curl and the natural juices release.
Step 3: Add the Alcohol
Pour just enough rubbing alcohol into the jar to cover the crushed leaf pieces (about 1 to 2 tablespoons). Give the jar a gentle swirl to mix it up. The liquid should start turning a rich green as the alcohol pulls the pigment out.
Step 4: Set Up Your Filter Strip
Take one of your coffee filter strips and tape the top end to a pencil or craft stick. Rest the pencil across the rim of the jar so that the bottom tip of the paper strip dangles down and just barely touches the green liquid. Make sure it doesn’t sink all the way to the bottom!
Step 5: Watch Chromatography Work!
Now comes the hard part: waiting! Leave the setup completely undisturbed for 45 to 60 minutes. As the alcohol travels up the paper via capillary action, it carries the different pigments along with it at different speeds.
Step 6: Reveal the Hidden Colors
Once the liquid crawls near the top of the strip, pull it out, tape it down on a paper towel, and let it dry. Look closely—you’ll see distinct bands of color! You’ll spot green chlorophyll, yellow xanthophyll, and maybe even some orange carotene. It’s concrete proof that those bright autumn colors were hiding inside those green leaves all summer long.
Wrap-Up
My kids spent some time staring at their strips today, comparing whose jar pulled up the brightest yellow, and asking a million questions. It’s messy in a fun, low-stakes way, and it makes for an incredible afternoon project when the autumn weather keeps you close to home.
I’d love to hear from you! What is your favorite part of fall? Are you brewing a strong morning coffee to chase away the crisp air, sipping warm apple cider, or just here for the changing foliage? Drop a comment below, and let me know if you try this experiment with your kiddos!
Happy fall, y’all!

